J3 Assembly

1
LOCATE PRINTED MATERIALS
With your juicer, you will find a “Start here” box with all the printed materials, including the manual, quick start guide, and recipe book.
2
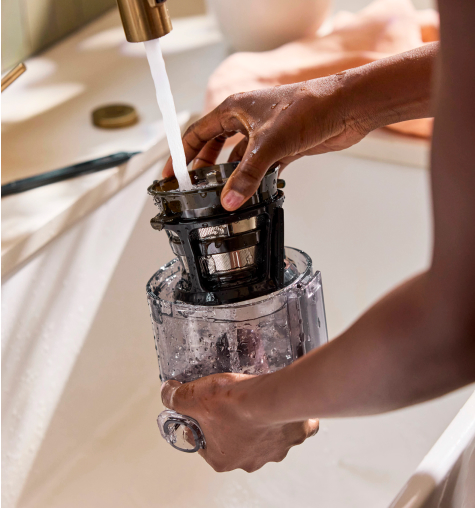
DISASSEMBLE TO CLEAN
The chamber set comes preassembled. Take it apart and clean each piece separately with soap and warm water.
3
Assembling the inner components
First, combine the spinning brush, juice strainer, and auger. Insert the strainer into the spinning brush and then insert the auger into the strainer.
PLACING THE STRAINER INTO THE CHAMBER
You will notice two wings on the strainer: one large and one small. Firmly place the strainer set into the chamber by locating the corresponding large and small cutouts. Push down until the top of the auger sits slightly below the top of the strainer.
Attaching the hopper
Place the hopper onto the chamber by aligning the guide mark on the hopper with the unlock symbol on the chamber. Next, rotate the hopper clockwise until the guide mark aligns with the Lock symbol. Place the hopper and chamber set on the base aligning the lid tab with the control knob.
Note: If the hopper does not rotate to lock properly, please check that the internal components of the chamber set are assembled correctly.
UNLOCKING THE LID
Pull up on the lid tab.
4
PLUG IN THE POWER CORD
Insert the power cord into the back of the base, and then plug it into your power outlet.
5
TURN ON THE JUICER
It is normal to hear the juicer clicking into place.
Note: If the juicer does not turn on, please check that the chamber set is assembled correctly and the guide mark is in the LOCKED position, and make sure that the hopper lid is closed.
REVERSE
Turn and hold the Control Knob to REV if the juicer stops due to a jam. You can also hold the knob to REV for 15 seconds after juicing is completed. This will make the chamber easier to disassemble.
NUT MILK
To avoid possible jamming, add smaller amounts of liquid and nuts into the hopper in a ratio of two-parts liquid to one-part nuts. For example, add half a cup of liquid and a quarter cup of nuts, allow the machine to process this, and then repeat until the recipe is complete.