C2 Juicer Set Up
1
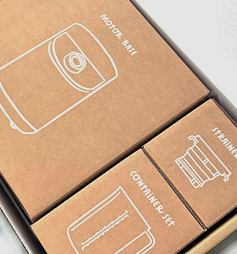
Unbox
Open the box and remove each individual component. Inside, you will find a “Start Here” box with all the printed materials, including the manual and Getting Started Guide.
2
Auger, Strainer, and Spinning Brush
Combine the spinning brush, strainer, and auger.
3
Auger, Strainer, and Spinning Brush
Place the auger into the strainer. Then, place the combined auger and strainer into the spinning brush.
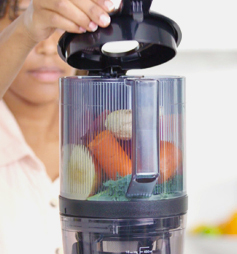
4
Place Strainer into the Chamber
The strainer has two wings: one large and one small. Place the spinning brush, strainer, and auger into the chamber by locating the corresponding cutouts. Push the auger down until it’s sitting flush with the top of the strainer.
5
Assemble the Hopper
Place the hopper onto the chamber, using the lock symbols as a guide. Rotate the hopper clockwise to lock it into place.
6
Place onto the Base
Place the entire hopper and chamber set onto the base.
7
Plug in the Power Cord
Insert the power cord into the base.
8
“Juice” Light
Once assembled properly, the “Juice” light will flash.
9
Turn On
Turn the control knob to ON position. Press the Start/Stop button to begin juicing.