J2 Cleaning
1
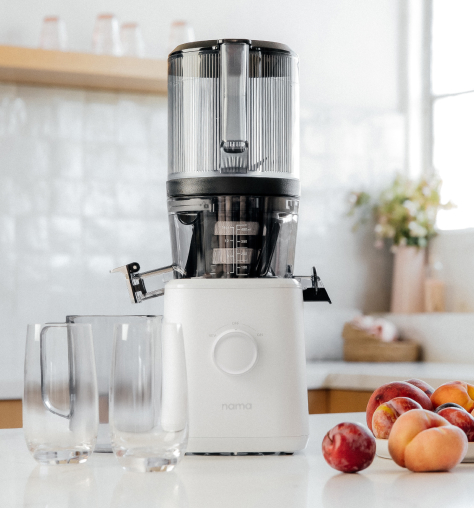
FINISHED JUICING
When you’re finished juicing, always hand wash your juicer right away. Holding the handle on the hopper, pull the entire chamber set off of the base and disassemble in the sink.
Note: Chamber set cannot be disassembled while still on the base.
2
UNLOCK CHAMBER SET
Twist open the hopper using the handle and disassemble the strainer set.
3
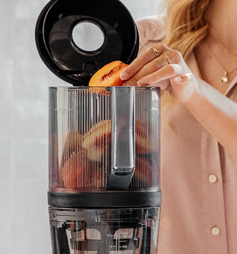
HOPPER
The lid on the hopper can be removed by opening the lid and pulling up. The inside of the hopper is safe to clean. The processing blade is pointy but not sharp.
4
WASH EACH COMPONENT
Wash each component by running them under water and scrubbing with a sponge or brush. The cleaning brush comes with a dual ended tip which can be used to pick out any pulp or scrub smaller areas.
5
CHAMBER
When cleaning the chamber, open the pulp outlet loop and clean the inside. The pulp outlet gasket can be easily removed and cleaned. Simply push it back into place once clean.
6
REMOVABLE SILICONE PARTS
Other removable silicone parts include the pulp outlet seal gasket, juice cap stopper, spinning brush blades, and chamber gasket. We recommend removing them every once in a while and cleaning with the included brush.
7
DRYING
Make sure to always hand dry your juicer right away after washing. This will prevent any remaining residue from staining your juicer. Leave it out to dry before reassembling.
8
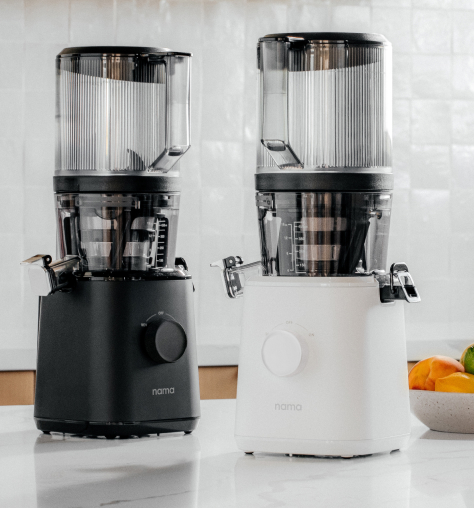
CLEANING THE BASE
It is normal to hear the juicer clicking into place. Use a damp cloth to clean up any pulp residue or juice off of the base. Make sure to avoid any water contact around the control knob and the plug outlet.
9
DEEP CLEANING
For a deeper clean, the parts can be soaked overnight in a mixture of warm water and three and a half ounces or 100 grams of baking soda. Alternatively you can use equal parts warm water and vinegar.
10
AFTER SOAKING OVERNIGHT
Wash and scrub each part after soaking overnight. After cleaning, always dry, or allow each part to air dry before reassembling.