J2 Tips
1
ASSEMBLING WHILE NOT ON BASE
The chamber set must be assembled first before placing onto the base.
After juicing, make sure to remove the entire chamber set from the base before disassembling.
2
UNLOCKING AND REMOVING THE HOPPER LID
Squeeze the release tab to unlock the hopper lid.
The hopper lid can be removed by lifting straight up. To reconnect, press down firmly until it clicks into place.
Note: if the hopper lid is not closed, the juicer will not turn on.
3
PLACING THE STRAINER INTO THE CHAMBER
You will notice two wings on the strainer. One large and one small. Firmly place the strainer set into the chamber by locating the corresponding large and small cutouts. Push down until the top of the auger is sitting flush with the top of the strainer.
4
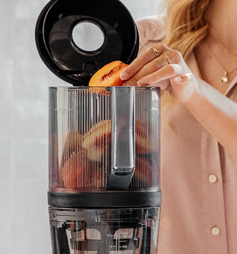
MAXIMUM FILL LINE
Do not load the hopper past the Maximum Fill Line.
5
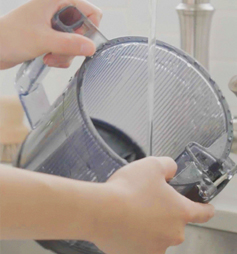
PULP OUTLET LOOP
When cleaning the chamber, open the pulp outlet loop and clean the inside. The pulp outlet gasket can be easily removed and cleaned. Simply push it back into place once clean.
6
PUSHER
Only use the provided pusher to press ingredients through the hopper lid.
7
REVERSE
Turn and hold the Control Knob to REV if the juicer stops due to a jam.
You can also hold the knob to REV for 15 seconds after juicing is completed. This will make the chamber easier to disassemble.
8
CLEANING SILICONE PARTS
Removable silicone parts include the pulp outlet seal gasket, juice cap stopper, spinning brush blades, and chamber gasket. We recommend removing them every once in a while and cleaning with the included brush.
9
NUTMILK
For plant-based milks such as almond milk, it is best to add ingredients through the top hole in the hopper lid while the machine is on. Be sure to scoop water and nuts together as you add them into your juicer. This will help give the best consistency.